
Adanced Water System
Premium Mineral Water purifier
Jinhaeng Water PH7.4
Self-Care Guide
Hygiene Management
Please check the filter replacement / product cleaning process below.
Product Manual PDF Download-
STEP
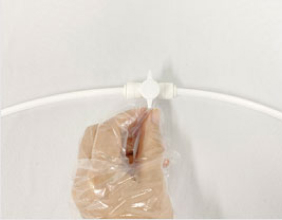
Please close the raw water supply valve.
-
STEP
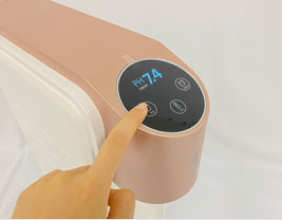
Please use the dispensing button to drain any remaining water inside the unit.
-
STEP
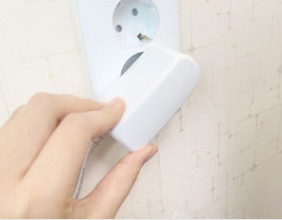
Please unplug the power cord.
-
STEP
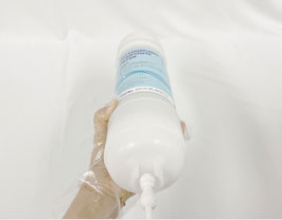
Please prepare the new filter after rinsing it in advance. (Pre/Post Filter: 5 minutes / Composite Filter: 15 minutes)
Filter Replacement Method
Filter Replacement
-
STEP
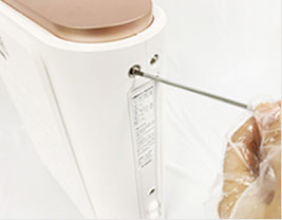
Remove the upper and lower screws located at the rear of the side cover attached with the sticker.
-
STEP
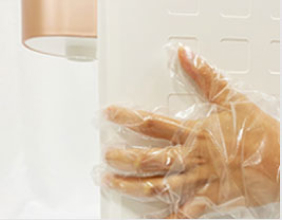
Pull the right-side cover backward to remove it.
-
STEP
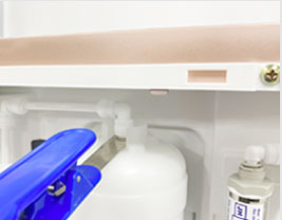
Use a tool to loosen the fittings connected to the filter that needs replacement, then remove the filter.
-
STEP
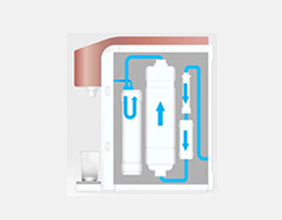
Install the cleaned new filter. (Please check the water flow direction marked on the filter.)
Filter Replacement Reset
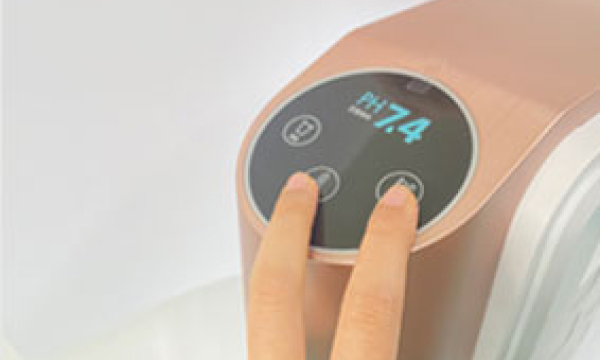
- When the filter replacement cycle is reached, the purifier LED changes to red, and a filter replacement guide message will appear.
- Press and hold the Dispense button and the Power button simultaneously for 5 seconds until you hear a beep sound. The purifier LED will then change back to blue.
This guide is intended to help customers replace the filter themselves.
- Service charges may apply for A/S requests caused by direct filter replacement, even within the warranty period.
- If self-replacement is difficult, please contact customer service for detailed assistance. (Korea only): 1577-3808
Product Cleaning Method
1. Water Outlet Cleaning Method (Weekly)
-
STEP
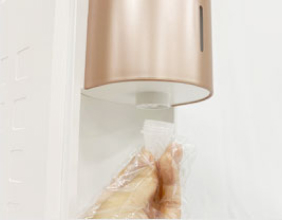
Hold the water outlet nozzle and turn it counterclockwise to detach it.
-
STEP
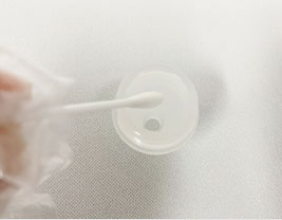
Clean the water outlet nozzle thoroughly. (You may wash it with diluted vinegar or baking soda solution.)
-
STEP
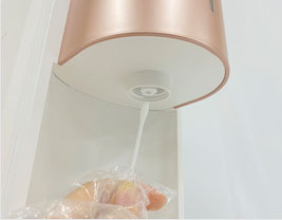
Clean the water outlet area using a sanitary cleaning tissue or soft cloth.
-
STEP
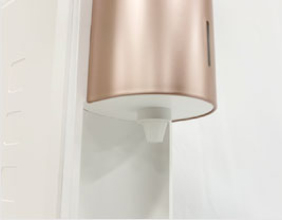
Dry the cleaned water outlet nozzle completely, then turn it clockwise to reattach it.
2. Exterior & Drip Tray Cleaning Method
(Exterior: 1–2 times per month / Drip Tray: Weekly)
-
STEP
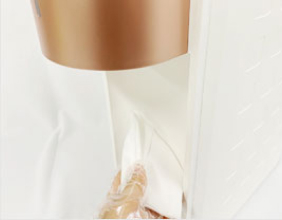
For exterior cleaning, wipe with a plastic-safe cleaner or a soft cloth lightly dampened with water. If using a neutral detergent, wipe again with clean water to prevent residue.
-
STEP
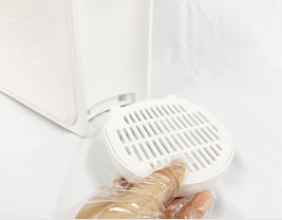
Pull the drip tray forward to remove it.
-
STEP
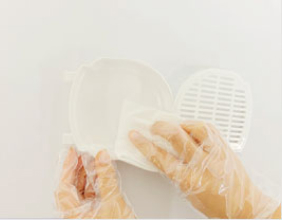
Separate the drip tray cover upward, then wash and dry it completely.
-
STEP
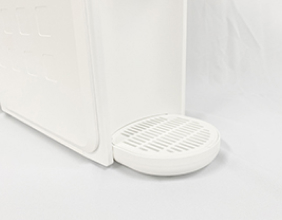
Reassemble the dried drip tray and reinstall it.
3. Internal Water Line Cleaning Method
(At least twice per year)
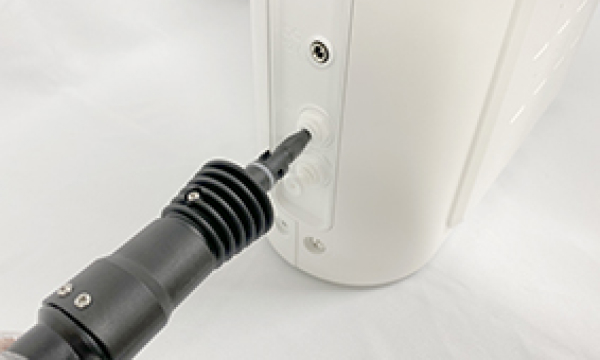
- Insert the system sterilizer firmly into the water outlet line located on the rear raw water supply line of the product, then begin cleaning.
This guide is intended to help customers perform self-maintenance.
- Please clean the water outlet and drip tray regularly. Foreign substances may accumulate.
- Do not use excessive force when removing or reinstalling the water outlet nozzle or drip tray, as this may cause damage.
- Do not use rough scrubbers, detergents, toothpaste, alcohol, thinner, lacquer, benzene, bleaching agents, or abrasives. These may cause discoloration, deformation, or damage to the exterior.
- Filters and consumables should be replaced every 1–2 years, depending on water quality and usage environment.
- High-pressure water cleaning may damage the purifier, so professional service is recommended.